Nothing compares to the feeling of biting into a piece of freshly baked challah bread. The eggy, slightly sweet flavor and soft, fluffy texture are what make this traditional Jewish pastry so delectable, but it's the unique braided design that makes it a true show-stopper at any family gathering. Here are the step-by-step instructions on how to make challah bread.
From baking the dough to mastering the tricky braided shape, I'll walk you through the basics for how to make challah bread. And while you may have family members who have been baking challah for generations, this article will teach you how to take the dough into your own hands and create a loaf that your grandmother would be proud to serve on her Shabbat table.
We hope you find these products as awesome as we do. Just an FYI: We are a participant in the Amazon affiliate program, and may receive a share of sales from links on this page. Prices on Amazon fluctuate so anything mentioned below might change as soon we publish it!
We hope you find these products as awesome as we do. Just an FYI: We participate in affiliate programs and may get a share of the revenue from your purchase.
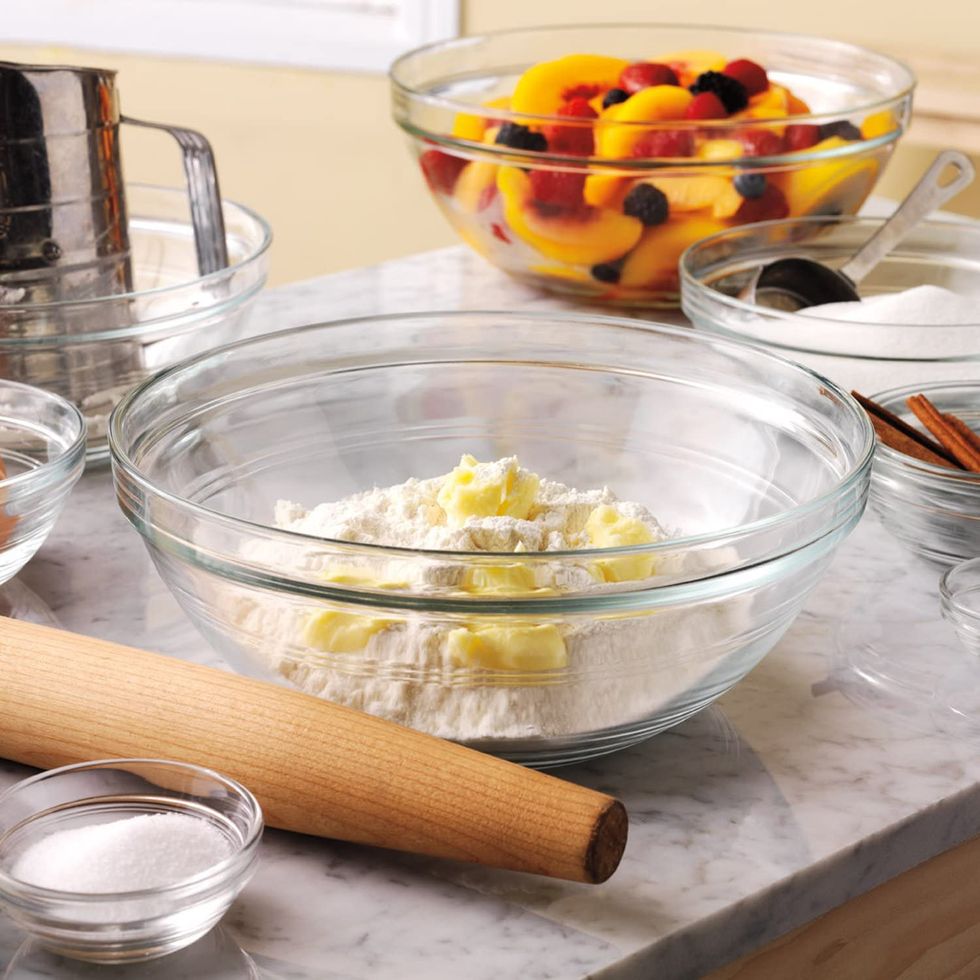
The first step for making the perfect loaf of challah is to grab some high-quality mixing bowls.
via: Shutterstock
Because you'll be kneading this dough by hand, you'll want a bowl that's large enough to handle the job. You'll also want one that's sturdy, so I recommend heavyweight glass over stainless steel or plastic so it'll stay put while you're working the dough.This is the bowl set that I've been using for years.
via: Amazon
This Duralex Stackable Bowl Set includes ten different sizes of bowls and is essential for any avid baker. The glass construction is extremely chip and scratch-resistant and is dishwasher, fridge, and microwave-safe. For this recipe, you'll want to use the 3-1/2 quart size.Now it's time to dissolve your yeast.
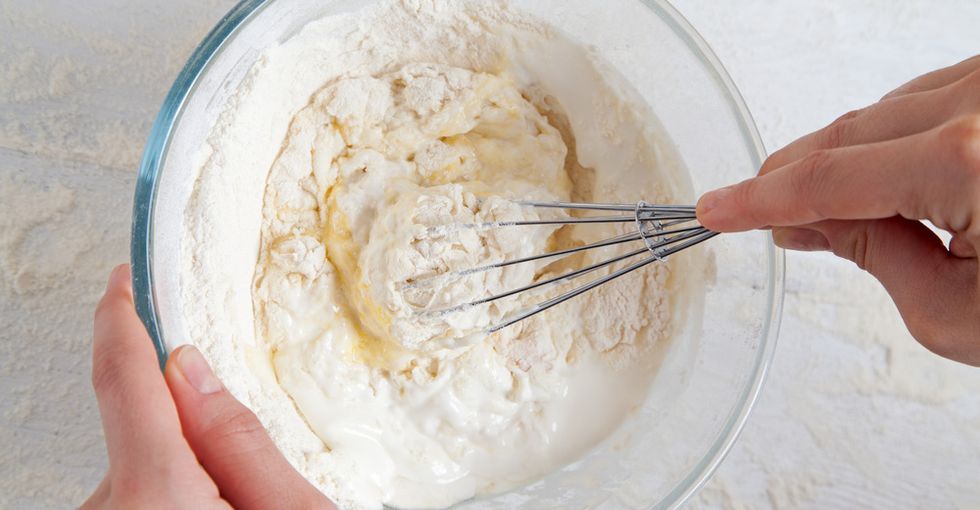
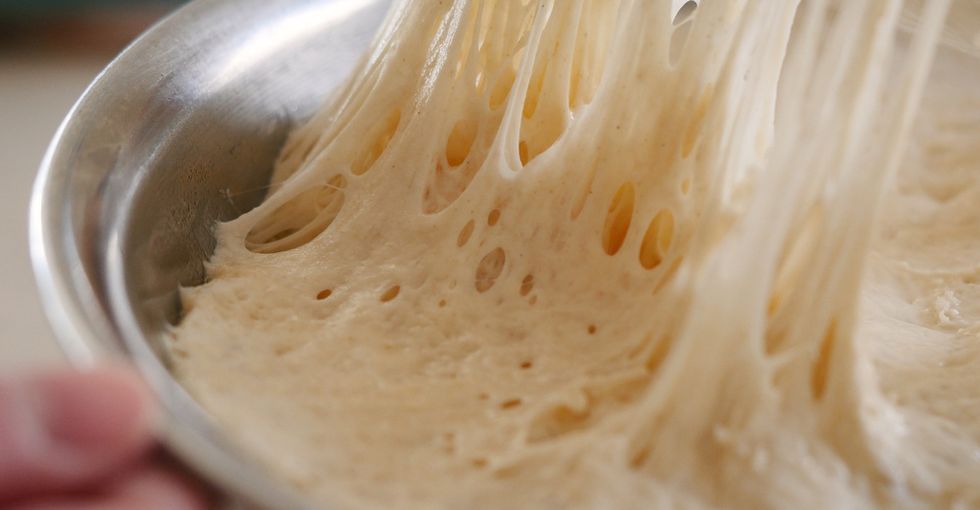
via: Shutterstock
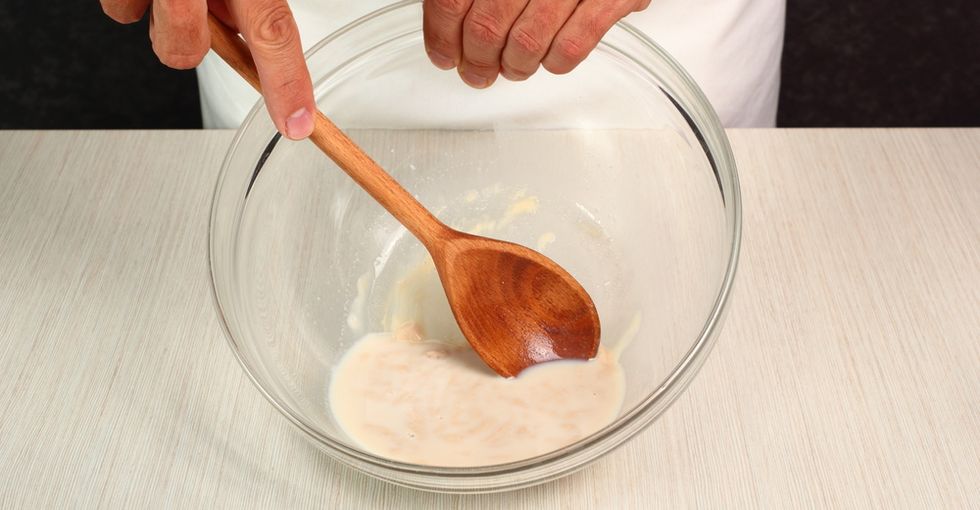
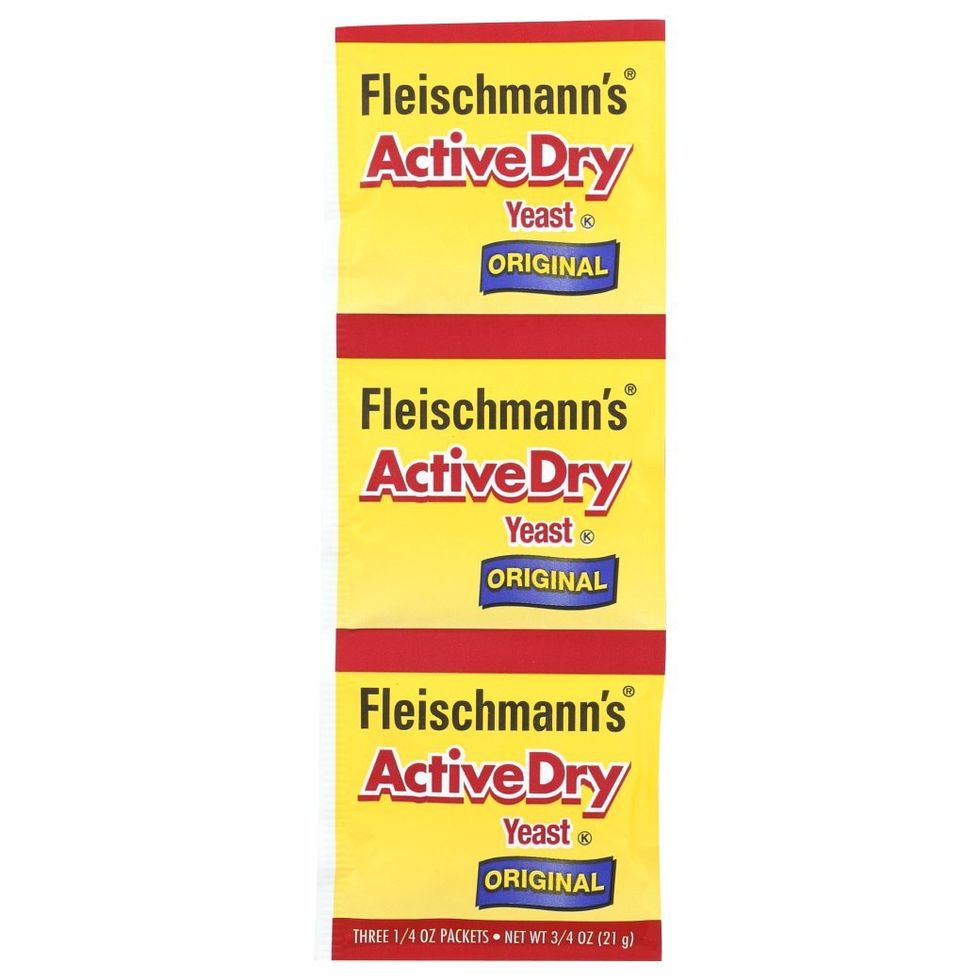
Pour 1 cup of lukewarm water into your large mixing bowl and add one packet of active dry yeast along with a pinch of sugar. Once that's completely dissolved, whisk in 1/3 cup of canola or safflower oil. Next, add two eggs one at a time as well as 1/4 cup of sugar and two teaspoons of salt.Not sure what type of yeast is best?
via: Amazon
This Fleischmann's Active Dry Yeast is my go-to when making any type of bread. I love how it comes in individual packets so you have one less thing you have to measure. Fleischmann's yeast has been a popular pick among professional bakers since 1868, so you know this stuff is legit.Now, let's finish up this dough!
via: Shutterstock
Gradually add four cups of flour to your bowl and mix in a bit more water if it seems too dry. When it starts to hold together well it's time to knead. Flour your work surface and manipulate the dough until it's soft and smooth. Ya know the old saying, "soft as a baby's bottom"? That's what you're looking for here. It should take about 15 minutes. Clean out your mixing bowl, grease it, and put your finished dough into it. Cover it with a towel and let it rise for an hour until it doubles in size. Punch the dough down so it flattens and then cover it and let it rise again for 30-45 minutes.Since this next step involves cutting your dough into sections, you'll want a stainless steel bench scraper.
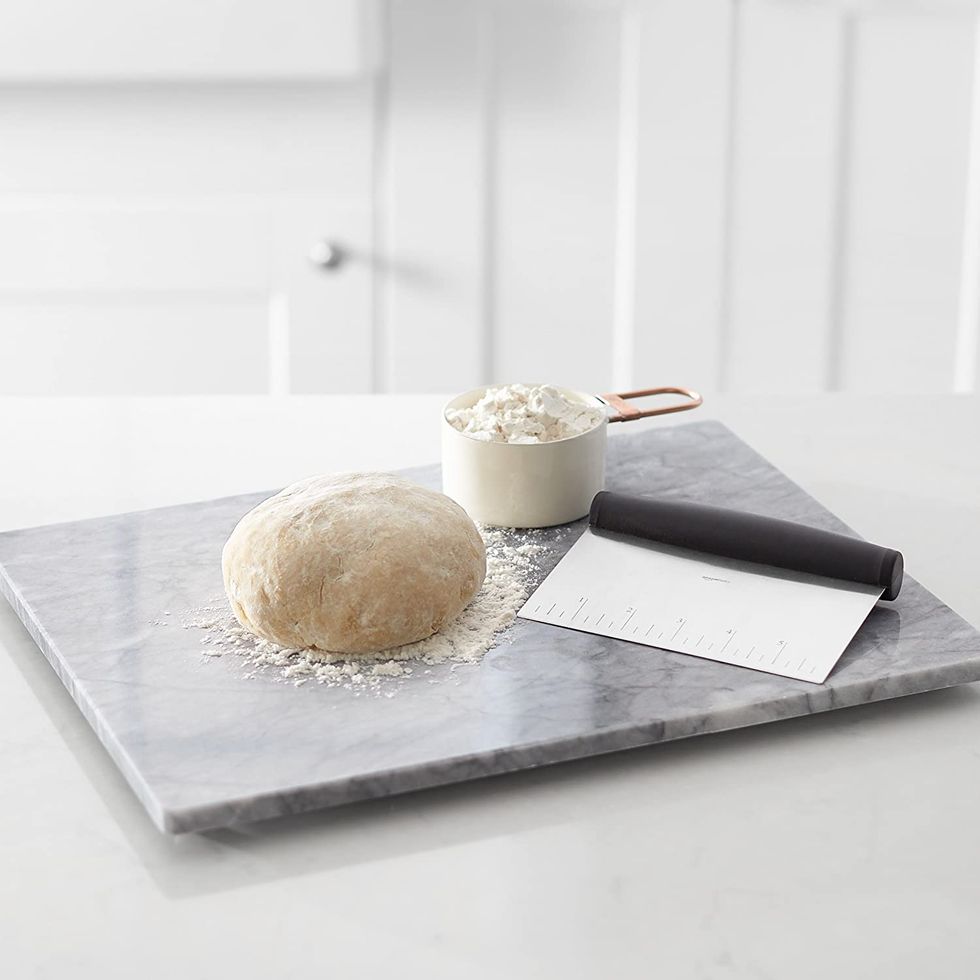
via: Amazon
This AmazonBasics Stainless Steel Bowl Scraper/Chopper is a product I've been using for years and it's never let me down. I love how sturdy it is and the one-inch measurement marks make it easy to cut dough into perfectly sized portions.Use your bench scraper to cut up your dough.
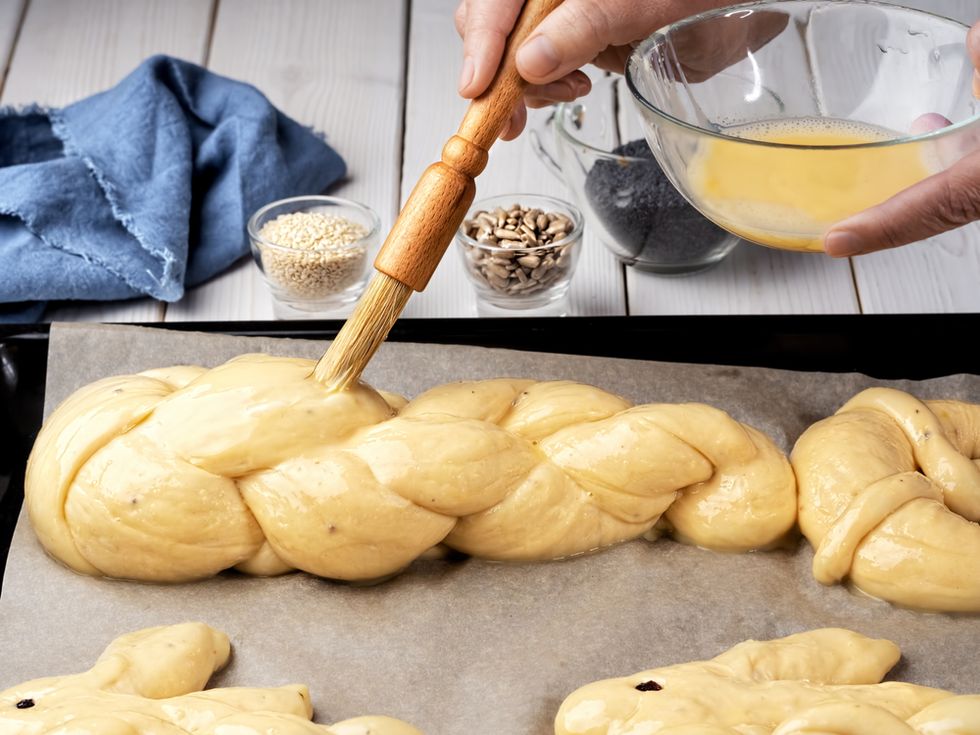
via: Shutterstock
First, take 2/3 of your dough and cut it into three equal pieces. Roll each piece into a rope shape with the palm of your hand until it's roughly the same size as your thumb. Braid these pieces together until it forms a single loaf. Do these same steps with your remaining dough and place it on top of your larger loaf. Let your dough rise again for 30 minutes. Preheat your oven to 375 degrees. Place your loaf on a baking sheet covered with wax paper and brush an egg wash consisting of one beaten egg and a pinch of sugar over your loaf.This is there a pastry brush comes in handy.
via: Amazon
This set of two Natural Boar Bristle Basting Brushes is a great addition to your bread-baking collection. It includes a 1-inch brush and a larger 1.5-inch brush so you always have the right size for the job. Bonus: it's under $10 bucks.The last step after adding your eggwash is also the most fun: adding your sesame seeds.
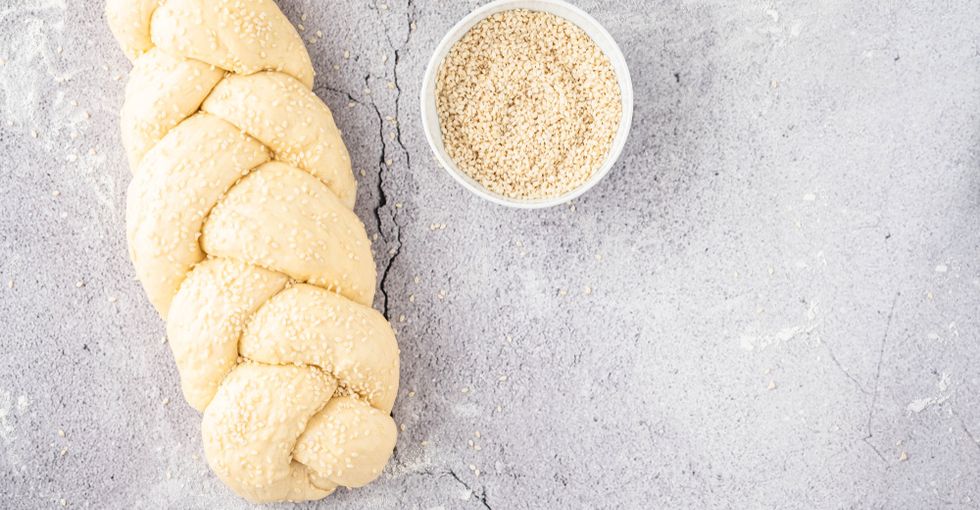
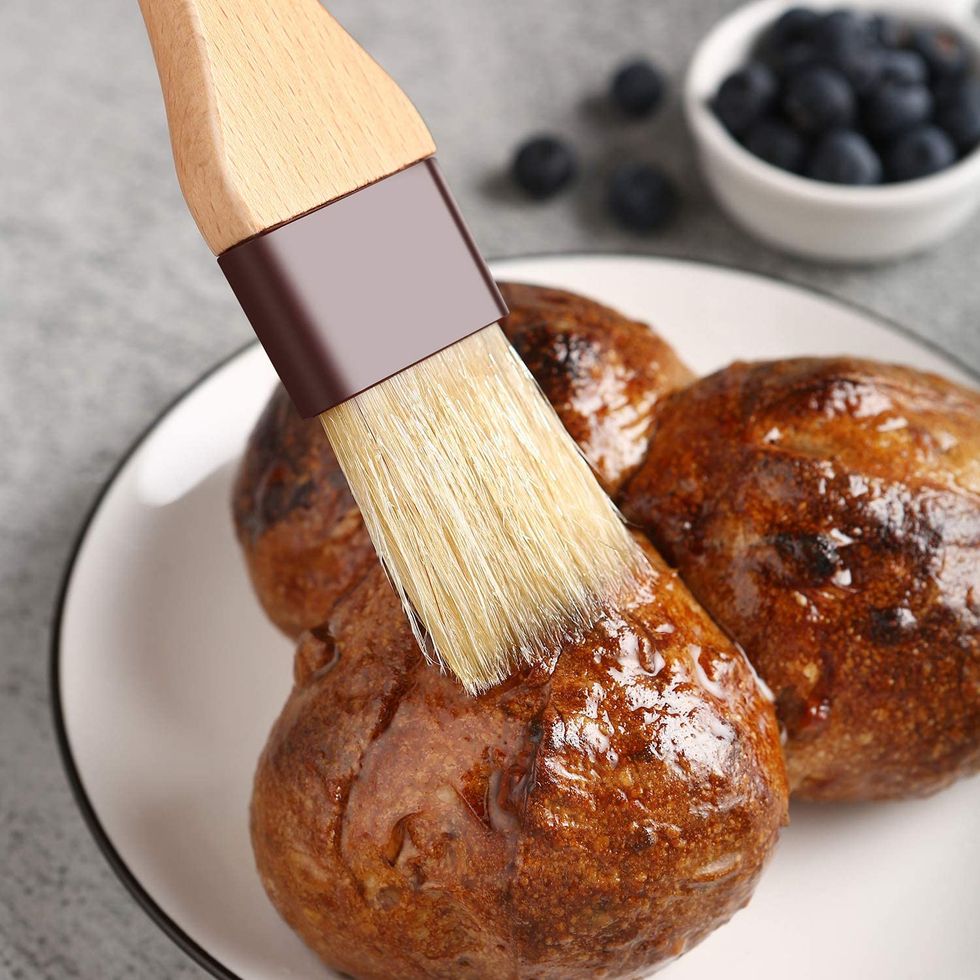
via: Shutterstock
Sprinkle on your seeds wherever you think they'll look the prettiest. I like to add mine in strips on the braided sections, but some people choose to just do a light dusting over the entire top of the loaf. Your eggwash will make sure that they stick and stay put during baking. Now all that's left is popping your loaf in the oven and baking for 35-45 or until it's a rich, golden brown color.Don't skimp on quality when buying your sesame seeds.
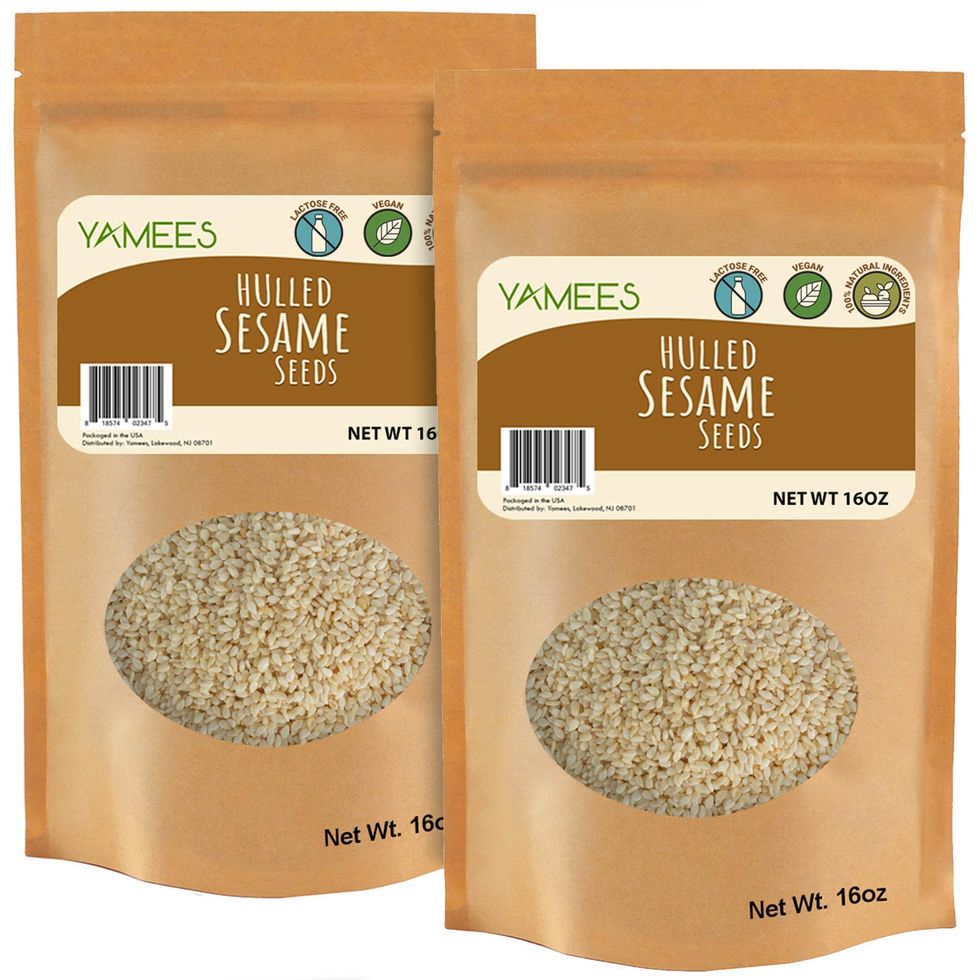
via: Amazon
These Hulled Sesame Seeds come in a two-pack set so you get two pounds of sesame seeds for $12.99. I love having these in my cabinet since I make challah every week, and I also use them in a variety of other recipes. Now that you know the steps and have the right tools, it's time to get in that kitchen and get baking!