How to Tie Dye Like a Professional and Make All the Coolest Patterns (2020)
19 September 2020
Ever wanted to learn how to tie-dye your fabric? You can always just try it freehand, but wouldn't you rather produce clothes that look professionally dyed? It isn't hard to do! All you need to do is follow a few extra instructions, and you'll be tie-dyeing like a pro in no time at all.
To help you do just that, we've put together this handy guide for tie-dyeing. Below you'll find instruction for several popular patterns. Also, we've included recommendations for everything you'll need on hand to get started. Luckily, Amazon has absolutely everything you'll need. So what are you waiting for? Set yourself up for some tie-dye and prepare to make beautiful clothing!
via: Getty
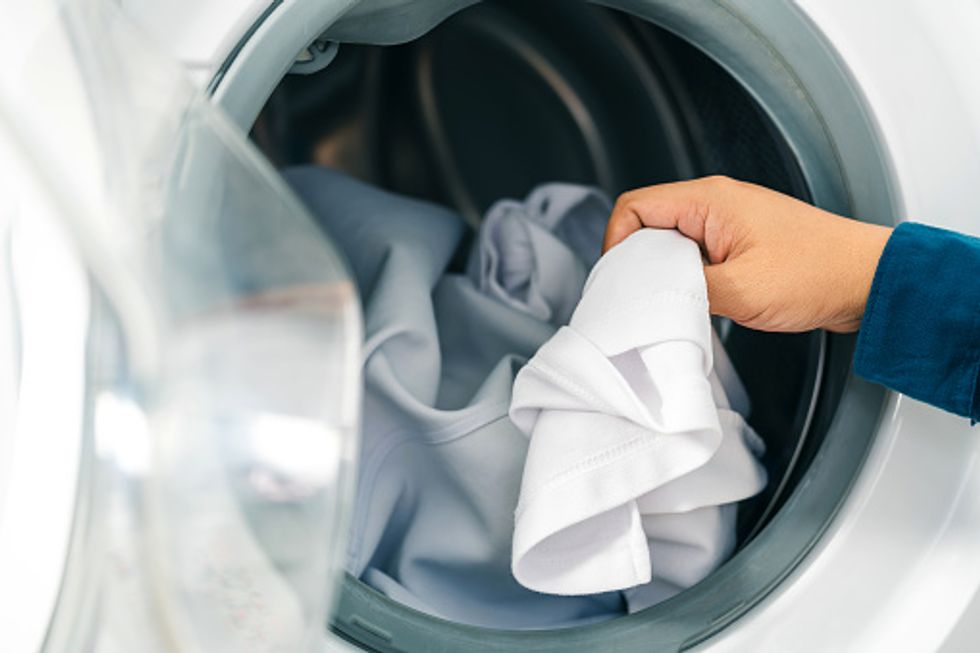
First, you should wash all the fabrics you’re going to tie-dye before you do so, without fabric softener (as that could inhibit the process) and leave the items damp for the actual tie-dyeing. New fabrics are coated in a chemical that helps to keep them free of wrinkles, but that chemical can also block the dye from fully absorbing into the fabric.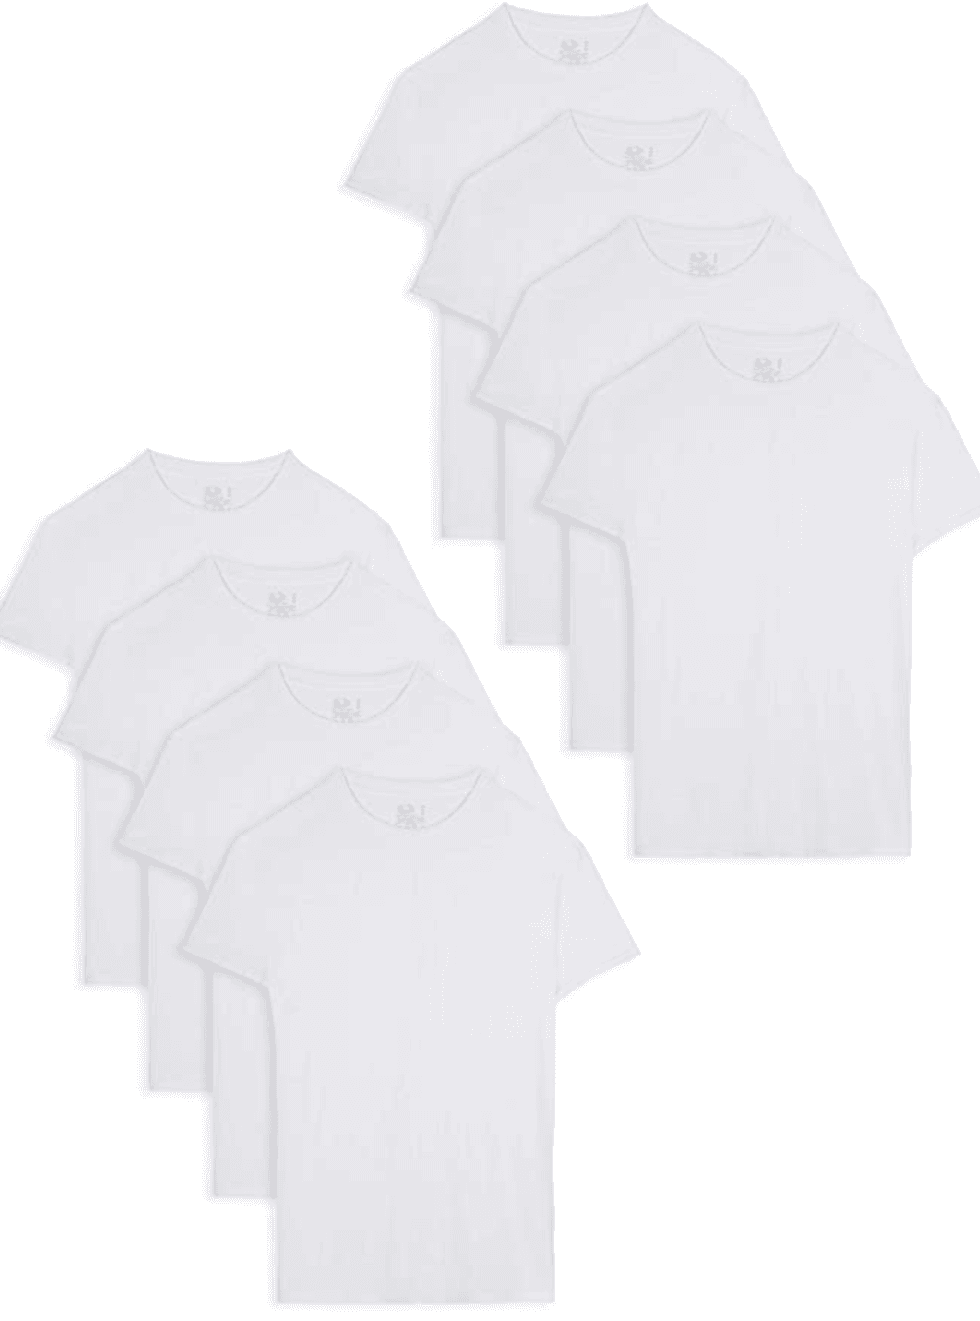
via: Amazon
So of course, you’ll need to have fabrics on hand for tie-dyeing. For this guide, we’re going to assume shirts, since they’re the most commonly used garment for this. This 8-pack of plain white t-shirts from Fruit of the Loom is only about $20!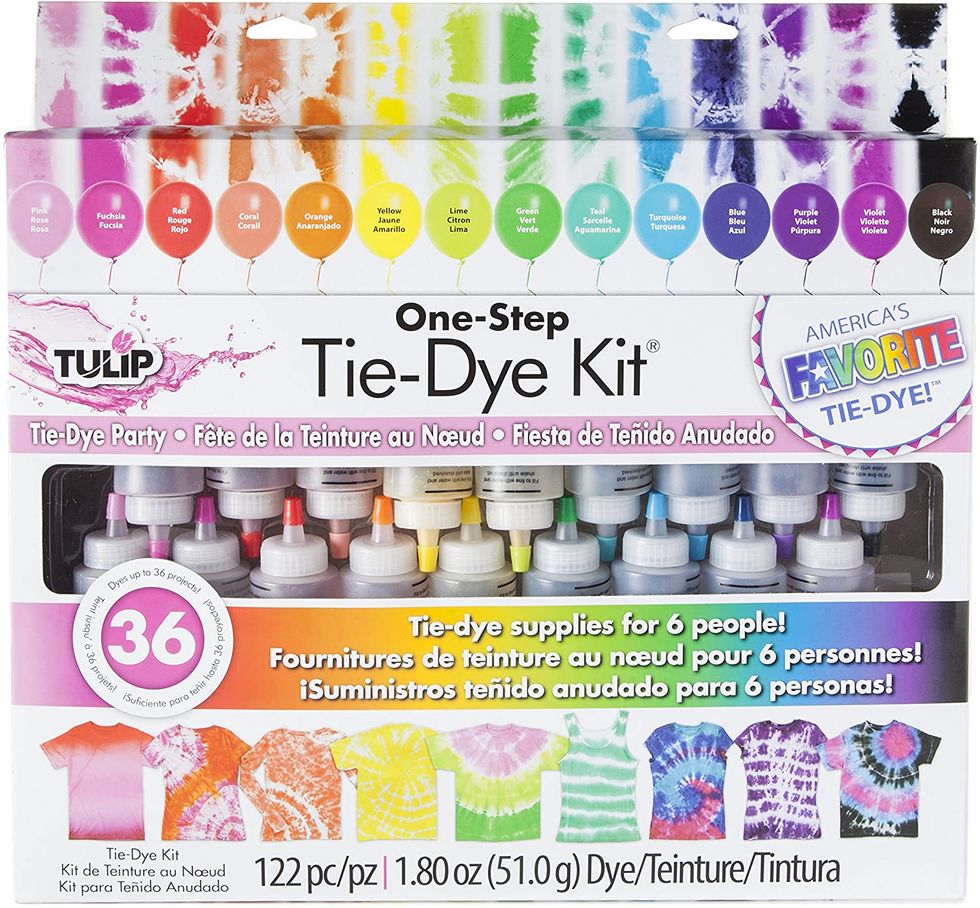
via: Amazon
You’ll also need a tie-dyeing kit, like this one! Tulip’s awesome 18-color kit is Amazon’s choice for tie-dyeing sets, and it has everything you’ll need to get started. The dyes themselves are totally nontoxic and machine-washable, and there are enough supplies in one kit for a party of up to 6 people. So, if you want, you can make a day of tie-dyeing fun for you and your friends!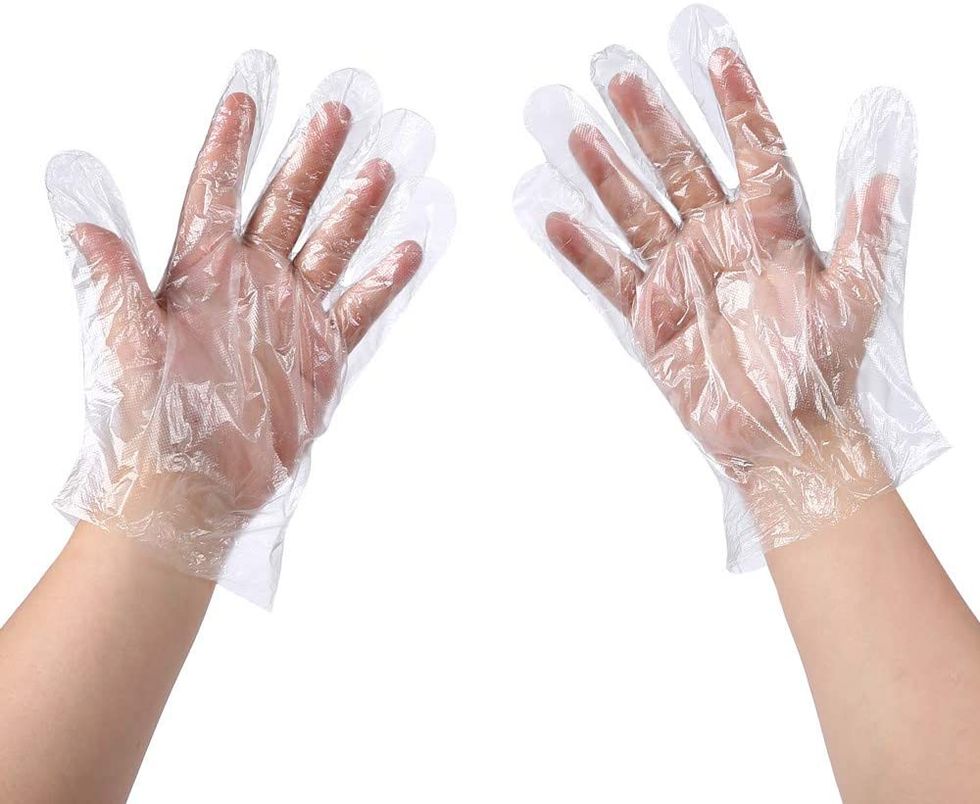
via: Amazon
You’ll want to wear a set of plastic disposable gloves before you start dyeing fabric, like these ones! They’re one size fits most, so they’ll work for both adults and children, and a whole 500-piece pack like this one only costs about $10.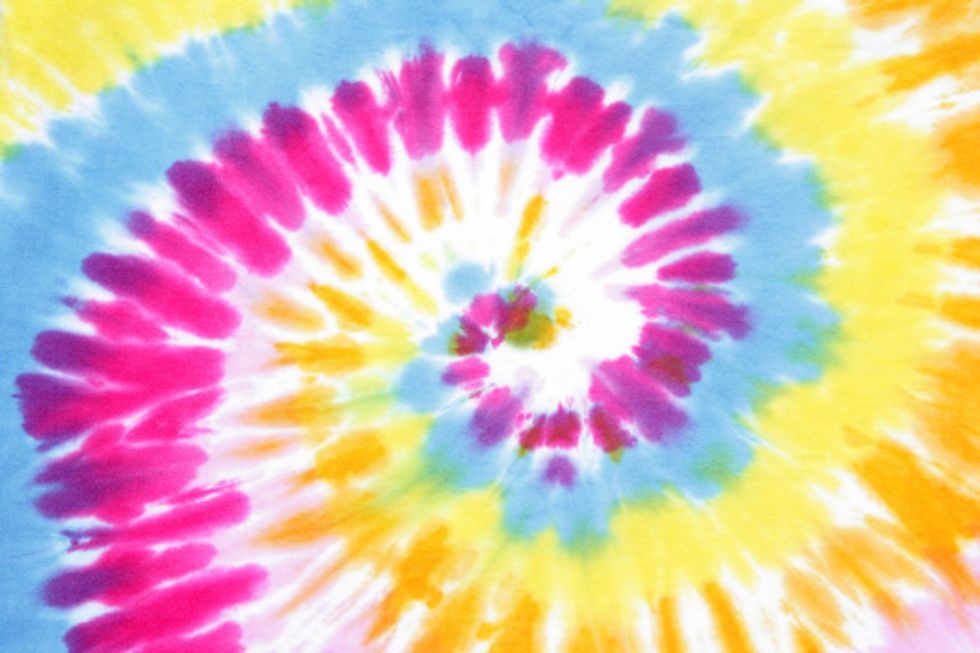
via: Getty
To get the classic “spiral" shape, start by pinching the fabric at the very center of the t-shirt and twisting until the entire shirt is in a spiral shape. Use three rubber bands to hold that shape together, which should create a total of 6 wedge-shaped segments (like a pizza). Apply a color to each segment, flip the shirt over, and do the same on the back. You can use one color, two, or many!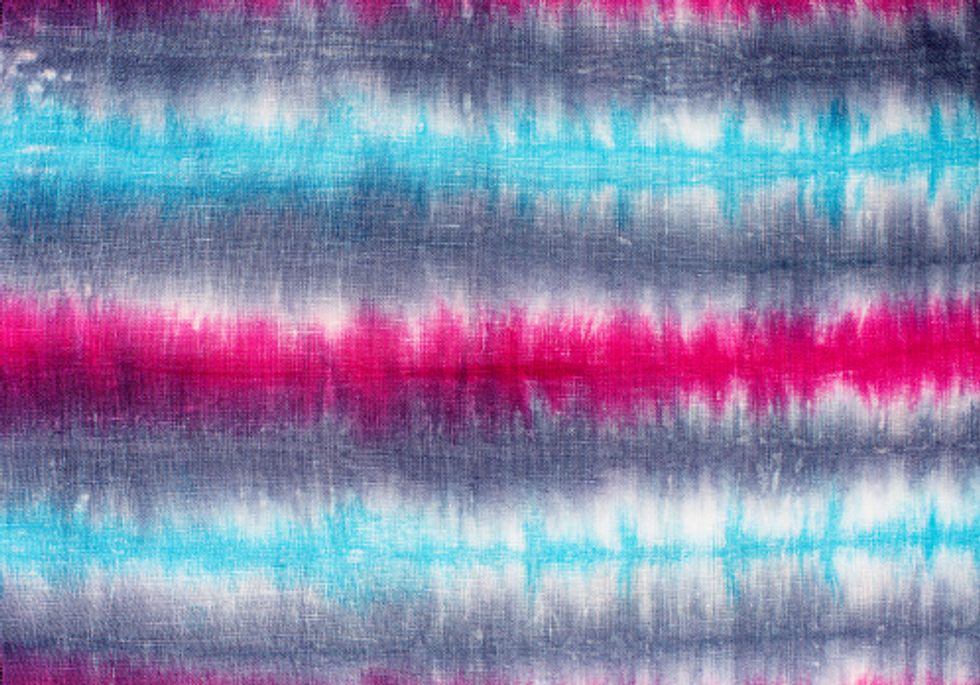
via: Getty
Lay your shirt out and then fold it, accordion-style, either vertically or horizontally (depending on which direction you want your stripes to run). Hold the fabric in that folded pattern by securing it with evenly-spaced rubber bands, spacing them farther apart for wide stripes, or close together for thin stripes. Apply die to each banded segment, and don’t forget to rotate the shirt to get the underside!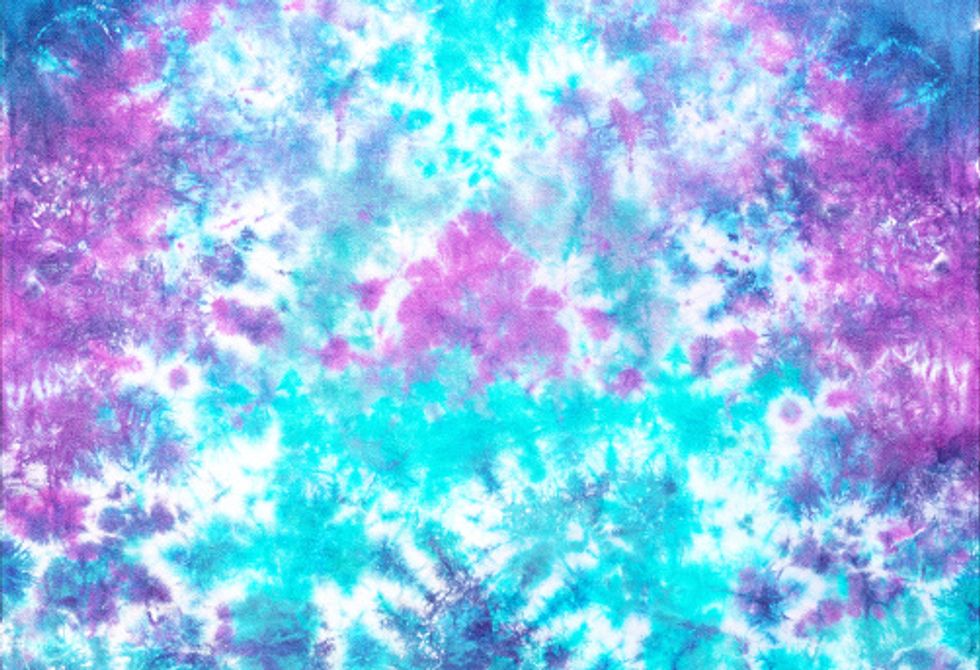
via: Getty
And yet looks like it’s professionally made just the same! All you need to do is lay your shirt out, and then scrunch it into a crumpled mound. To make things easier, you can also secure it with rubber bands once you’ve scrunched it, but you don’t have to. Then, just apply dye as you like, and make sure to flip the fabric and get its underside. The only thing you really need to worry about is using colors that blend together well—test them out beforehand if you’re not sure!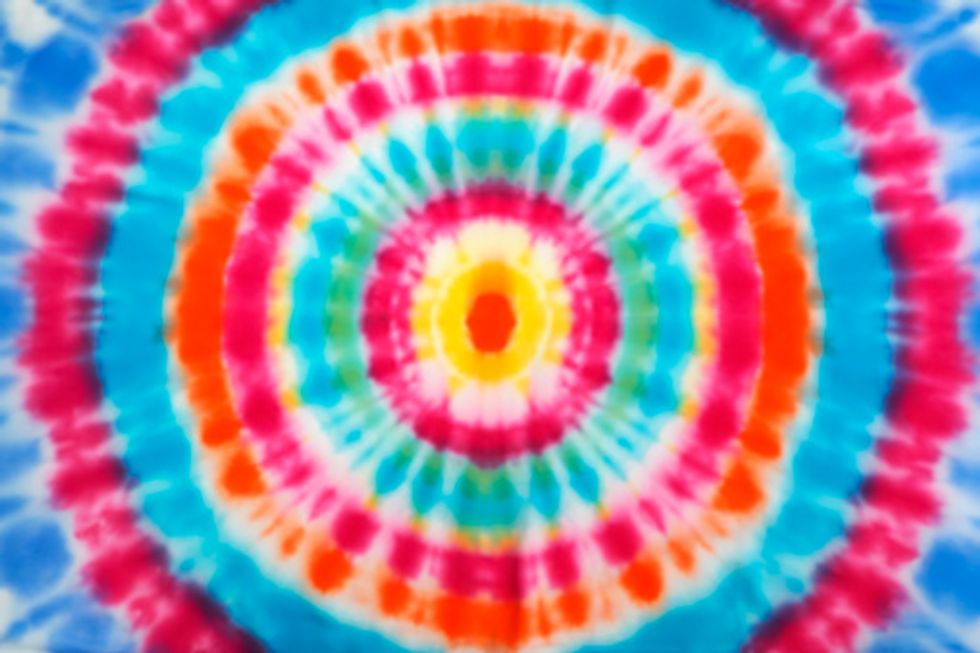
via: Getty
And it might also be the easiest! Pinch your fabric where the center of the bullseye will be, and pull it into a cone shape from there. Wrap a rubber band 1-2 inches below the tip of the fabric, and then keep applying rubber bands until you have as many bullseye layers as you’d like (aim for 2-3 rubber bands, which makes 3-4 layers). Apply colors to each section, and you’ve got your pattern.
via: Amazon
In order to let the dye sink in to best effect, you’ll want to seal the tie-dyed shirt in a plastic bag like this one and leave it sitting for roughly 6 to 8 hours. This way, the shirt stays damp for the whole period instead of drying out, allowing the dye to do its work.
via: Amazon
After you’ve let it sit for a few hours, it’s time to wash your tie-dyed fabric. When you toss it in the washing machine, you’ll want to make sure you’re using gentle detergent, like this Tide Free & Gentle liquid laundry detergent. It’s affordable and can do up to 64 loads, so you’ll be using it long after you’ve finished your tie-dye! And voila, your tie-dyeing project is now complete. Enjoy!