Sourdough: it's so hot right now. You've probably been seeing people all over your social media feed trying their hand at making sourdough bread, and while it's trickier to pull off than loaves like challah that don't require a live starter, it's well worth the extra work. I've been making this distinctive, tangy bread for years, and I'll walk you through the step-by-step instructions for how to make sourdough bread that looks and tastes amazing.
From a great sourdough starter shortcut to what tools you'll need to make the perfect loaf, this article will teach you how to make sourdough bread. And yes, you'll be free to boast about your superb baking skills in your Instagram stories after you master this recipe. I won't judge.
We hope you find these products as awesome as we do. Just an FYI: We are a participant in the Amazon affiliate program, and may receive a share of sales from links on this page. Prices on Amazon fluctuate so anything mentioned below might change as soon we publish it!
We hope you find these products as awesome as we do. Just an FYI: We participate in affiliate programs and may get a share of the revenue from your purchase.
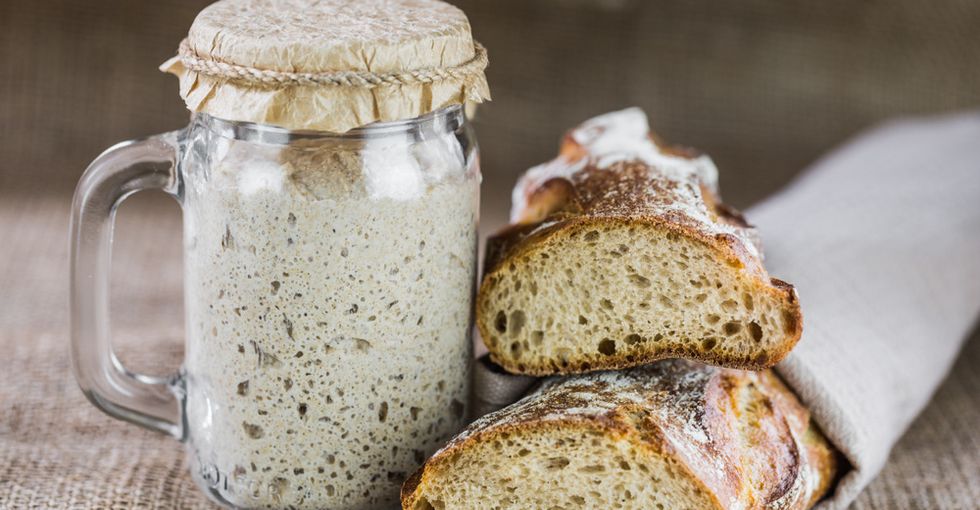
Sourdough bread starts with a live sourdough starter, which, if you think about it, is basically like having a pet.
via: Shutterstock
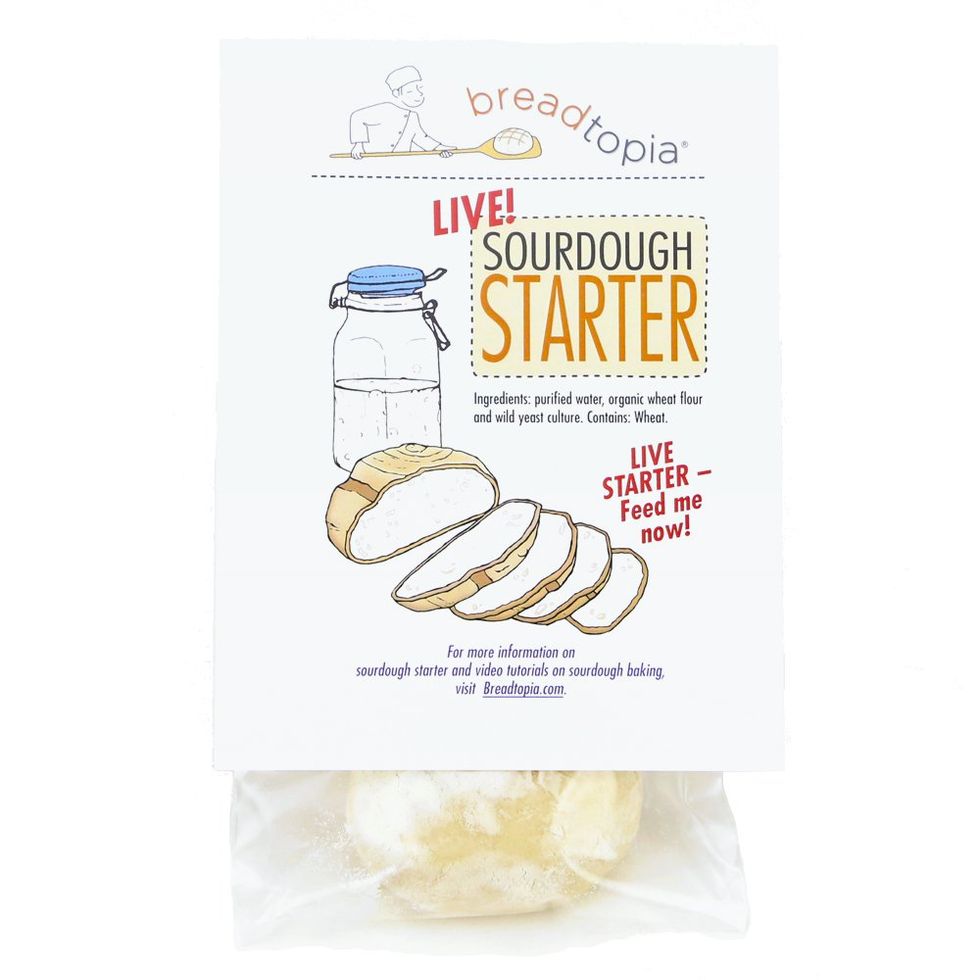
You have to feed and water it every day to make sure it's healthy, and it takes a lot of effort to keep it happy and thriving. Some people have their starters for more than a decade and even name them. Sure, it seems kind of weird to name a jar of flour and water, but if you're tending to this thing every day for 10 or more years you're bound to form an attachment.Making sourdough bread is complicated enough, so here's a brilliant way to speed up the process: buy a premade starter.
via: Amazon
It seems hard to believe, but you can actually buy a live starter on Amazon. This Breadtopia Sourdough Starter is a product that I was extremely skeptical about at first, but then I tried it. Not only did it make a delicious loaf of bread, but I've used it 20 times so far and each time has turned out great. I named mine Gertrude.So now that you've got your premade starter and followed the directions to restore it to full potency, let's make some dough!
via: Shutterstock
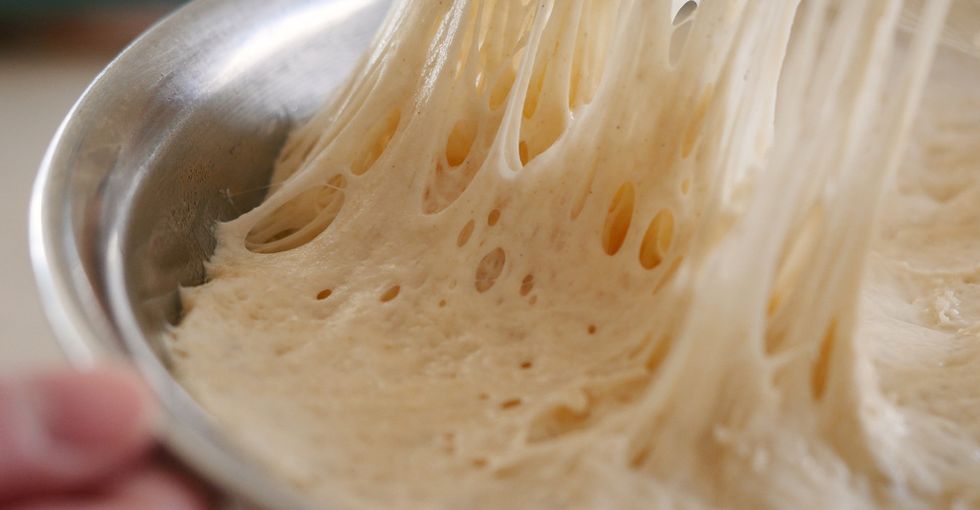
Grab your largest mixing bowl and add 1/2 cup of your sourdough starter, 1 cup of lukewarm water, and 2 tablespoons of olive oil and whisk until smooth. Add 2 and 3/4 cups of bread flour along with 2 teaspoons of salt to your bowl and mix it together with your hands so you can tell if you need to add a bit more water. Form the dough into one big ball. It should be slightly sticky but still dry enough so that it cleans the bottom of the bowl without leaving bits behind. Add water or flour to get it to the right consistency. Remove the dough, grease the bowl, and put it back in. Cover it tightly with a bowl cover or cling wrap. Set it aside to rise and ferment for 12 to 18 hours.Here's a link to the set of mixing bowls I use.

via: Amazon
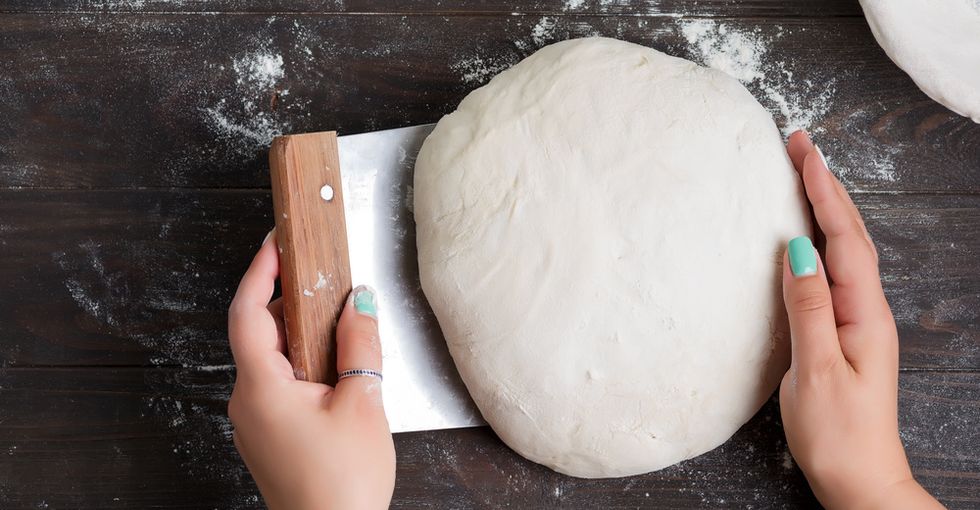
This Meal Prep Stainless Steel Mixing Bowls Set includes five different options of bowls so you always have the right size for your recipe. I love that they're stainless steel so I don't have to worry about breaking them. They're rust and corrosion-resistant and dishwasher-safe for easy cleanup.Now that's it's risen, remove your dough from the bowl and set it onto a floured surface.
via: Shutterstock
Fold it over onto itself a few times to strengthen it and then form it back into a smooth ball. Grab your Dutch oven and dust it with flour so it becomes a non-stick surface and pop your dough inside. Put the lid on and allow it to proof for 1 1/2 to 2 1/2 hours or until it has almost doubled in size.Speaking of Dutch ovens, here's an affordable option that I recommend to everyone.
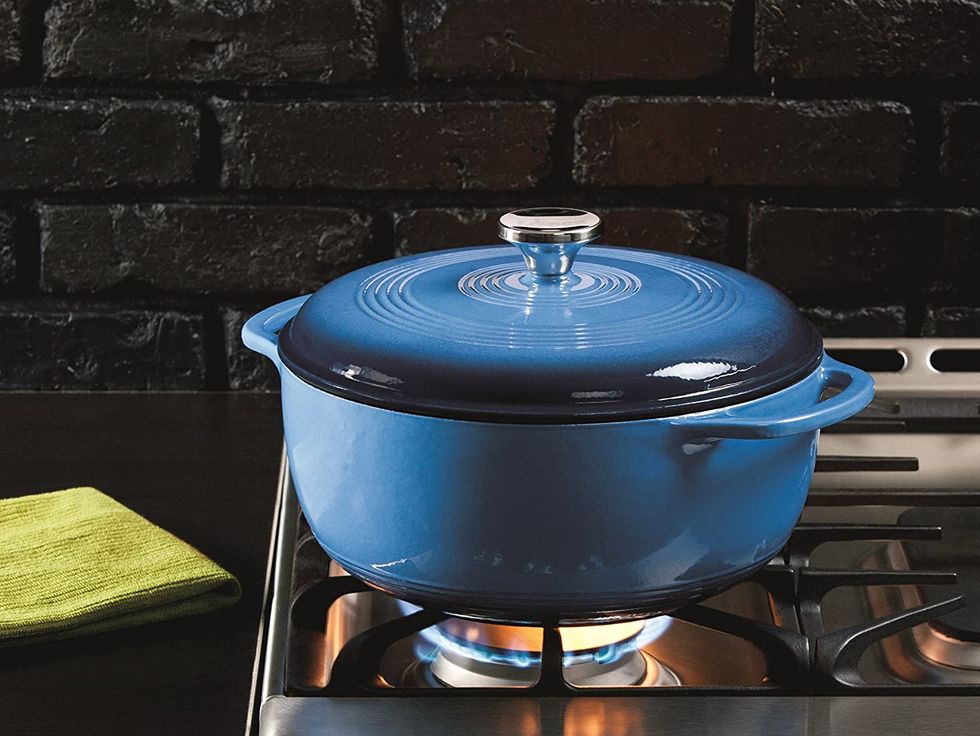
via: Amazon
This Lodge 6 Quart Enameled Cast Iron Dutch Oven is the perfect mix of form and function. The enameled cast iron construction is oven safe up to 500 degrees Fahrenheit and provides incredibly even cooking so your meals always turn out perfectly. Plus, the deep blue color looks beautiful on your kitchen counter.Now it's time to get your loaf ready for the oven.
via: Shutterstock
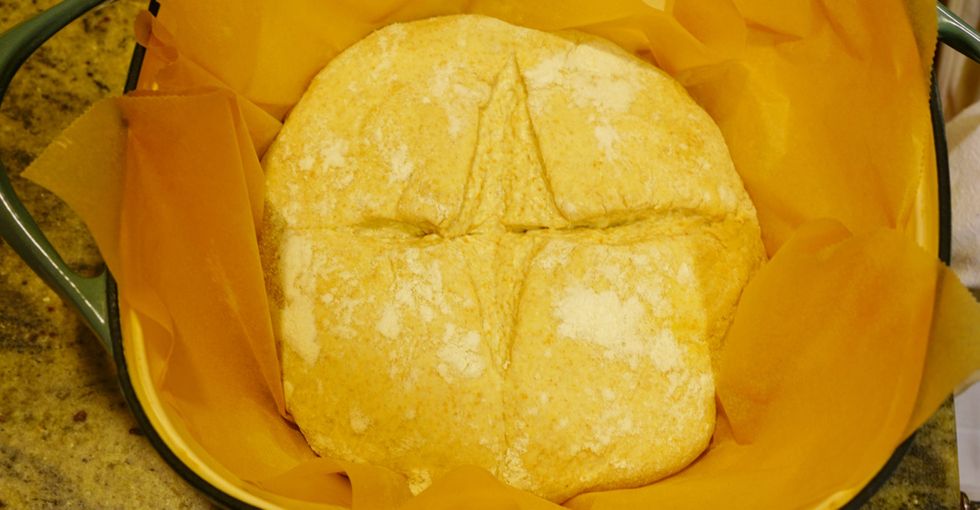
Preheat your oven to 425 degrees Fahrenheit. Once you've proofed your dough, score the top with the blade of a pastry scraper by cutting a line down the middle. You can also cut an X onto the top to create a bit more interest.A pastry scraper is a kitchen tool that you'll use much more often than you might expect.
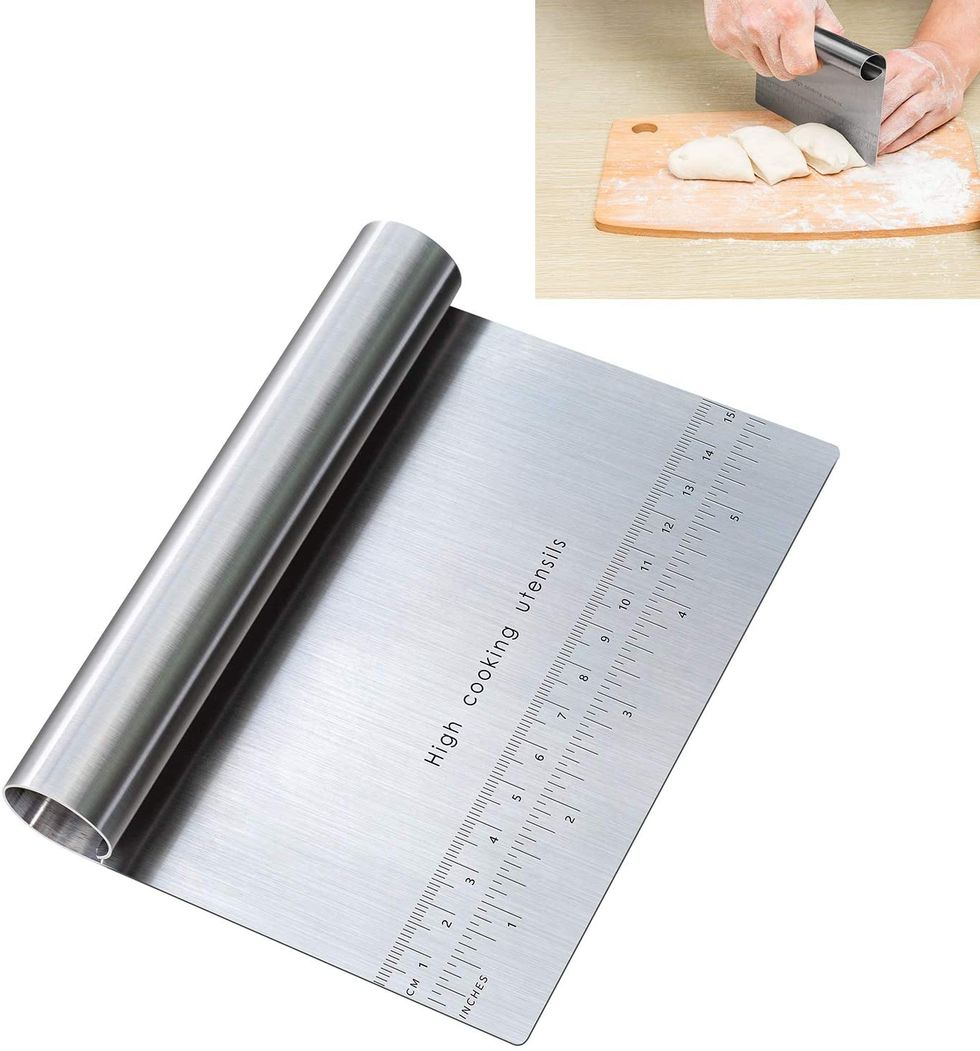
via: Amazon
And luckily, you can get one delivered to your front door for only $6.99. This Pro Dough Pastry Scraper/Cutter/Chopper is made of durable stainless steel and has clear and precise measurements etched into the blade so you know exactly how much dough you're cutting.Put the lid back on the Dutch oven and place it in the oven.
via: Shutterstock
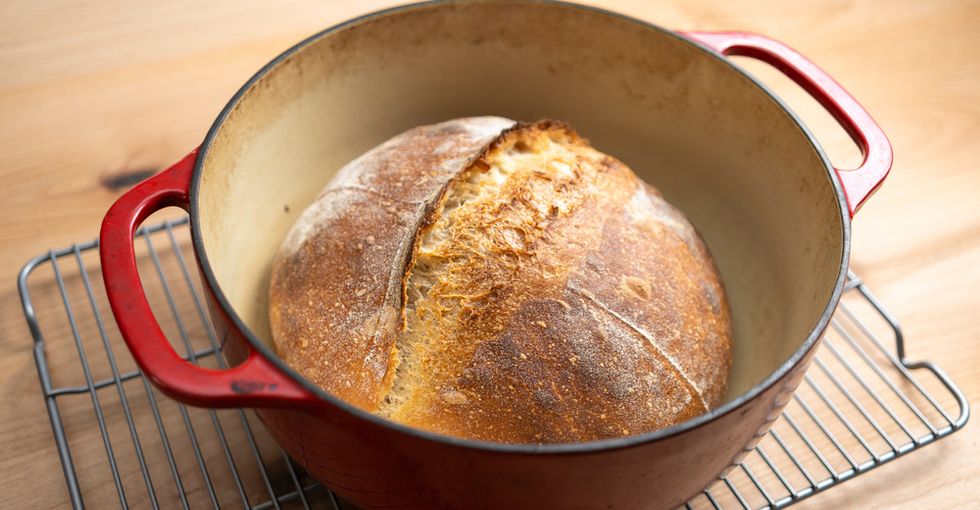
Bake for 25 to 30 minutes, remove the lid, and continue baking for an additional 25 to 35 minutes. Your loaf should be crispy, have a lovely deep golden brown color, and sound hollow when tapped. Don't worry if it feels too crisp since the crust will soften slightly while cooling.Remove your loaf from your Dutch oven and place it on a cooling rack.
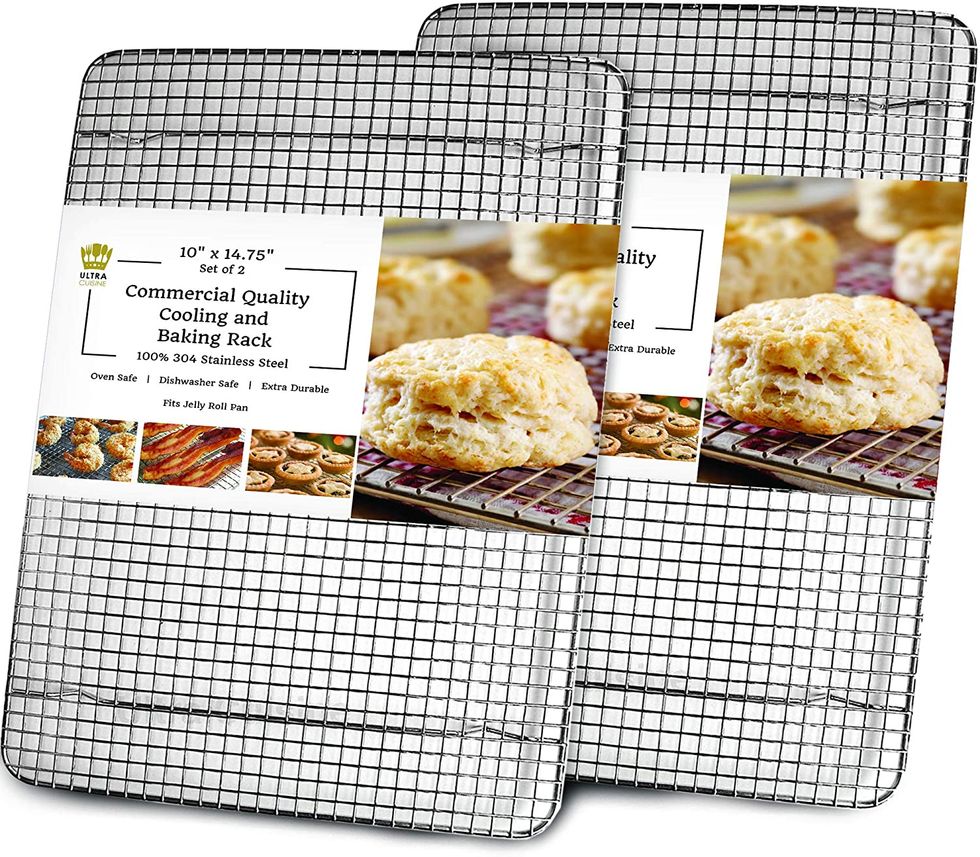
via: Amazon
Make sure your bread has cooled completely before you cut into it. This Cooling, Baking & Roasting Wire Rack comes in a set of two and is the perfect size for cooling loaves of bread. The commercial-grade stainless steel is dishwasher and oven-safe and 100% rust-resistant. This chewy, slightly sour bread is perfect for sandwiches, French toast, and tangy bread pudding. Enjoy!