Antique furniture can add a beautiful touch to your home, but a lot of antiques are way too expensive! So instead of hunting down affordable antiques in stores, we've got a better way of getting that same look. Get yourself some (inexpensive) unfinished wooden furniture, and finish it yourself at home. Turns out, it's not hard to antique wood like a true DIY professional!
All you need to do is follow a few simple steps. Luckily, we've mapped out those steps for you below, complete with a list of things you'll need to do the job. Learning how to antique wood in the comfort of your own home is so ridiculously simple, you'll be wondering why everyone doesn't do it! So check out the instructions below and turn yourself into a master of antique DIY.
We hope you find these products as awesome as we do. Just an FYI: We are a participant in the Amazon affiliate program, and may receive a share of sales from links on this page. Prices on Amazon fluctuate so anything mentioned below might change as soon we publish it!
We hope you find these handy products as awesome as we do. Just an FYI: we participate in affiliate programs, and may receive a share of sales from links on this page.
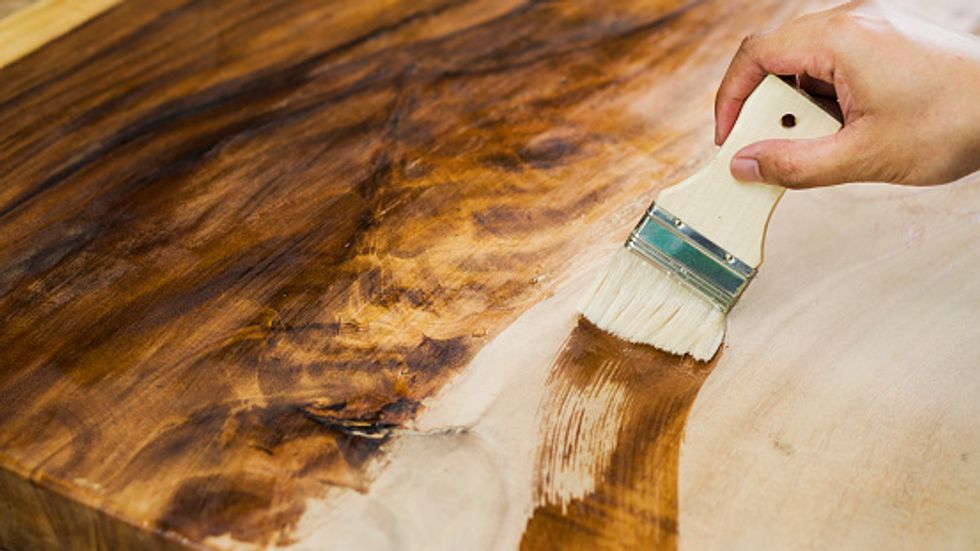
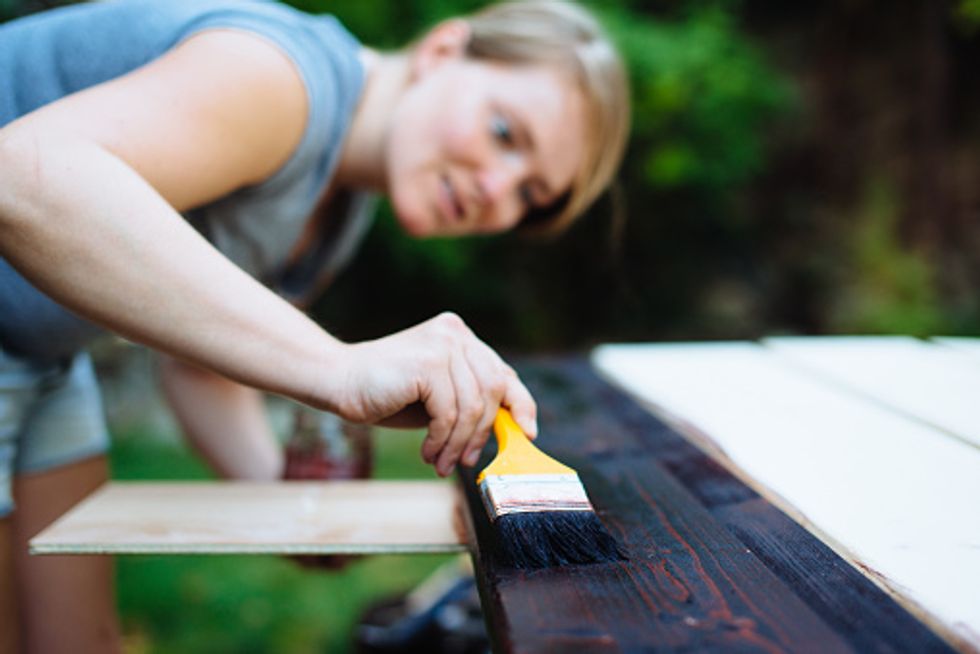
Apply a pre-stain conditioner, and then the stain.
via: Getty
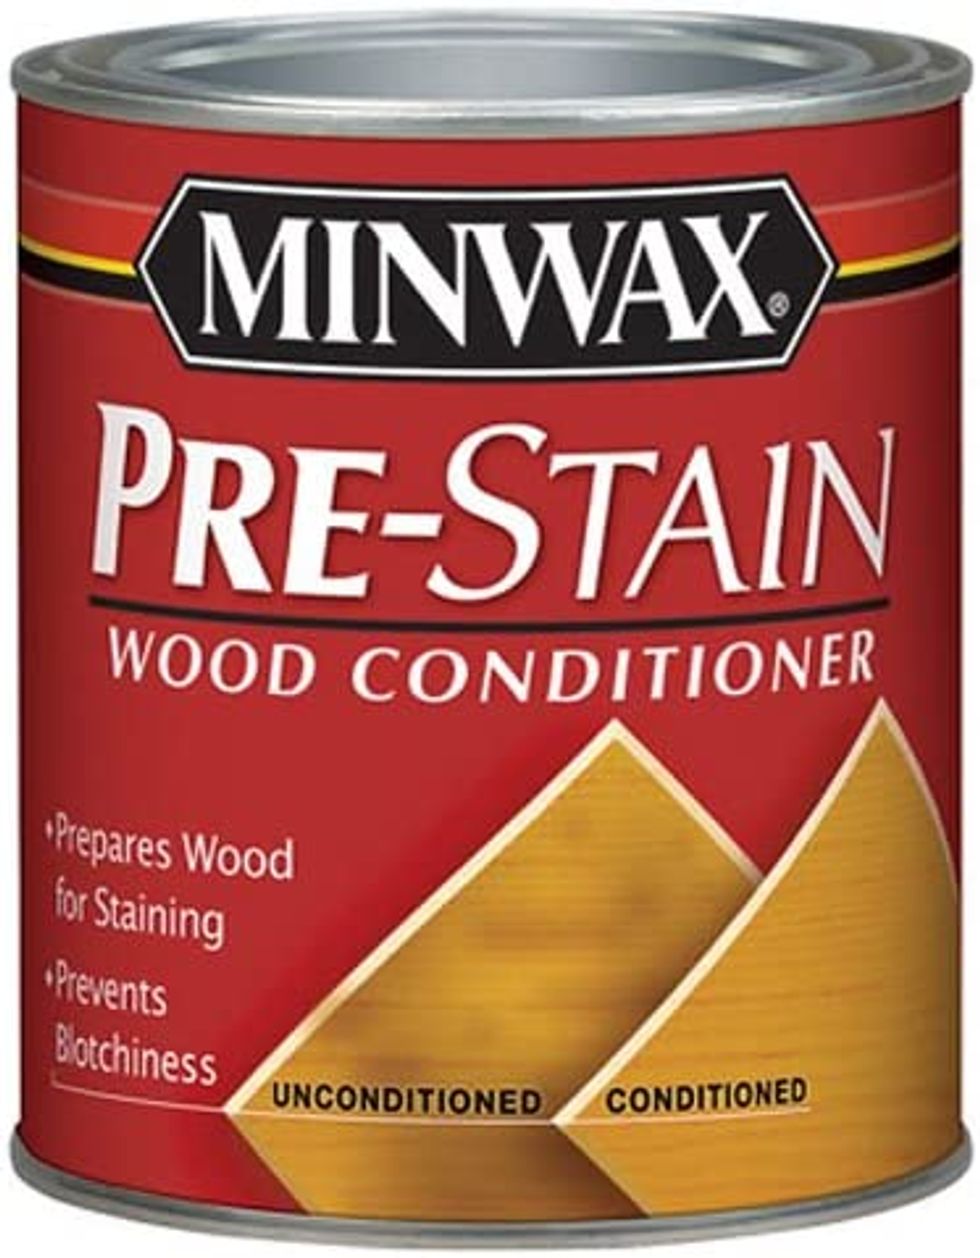
So, first things’ first: if you’re going to make your wooden furniture look like an antique, you’ll need to stain the wood. Use a pre-stain conditioner to get the wood ready, and make sure you select a stain that looks similar to other antiques you’ve seen.Pre-stain conditioner is a good way to start.
via: Amazon
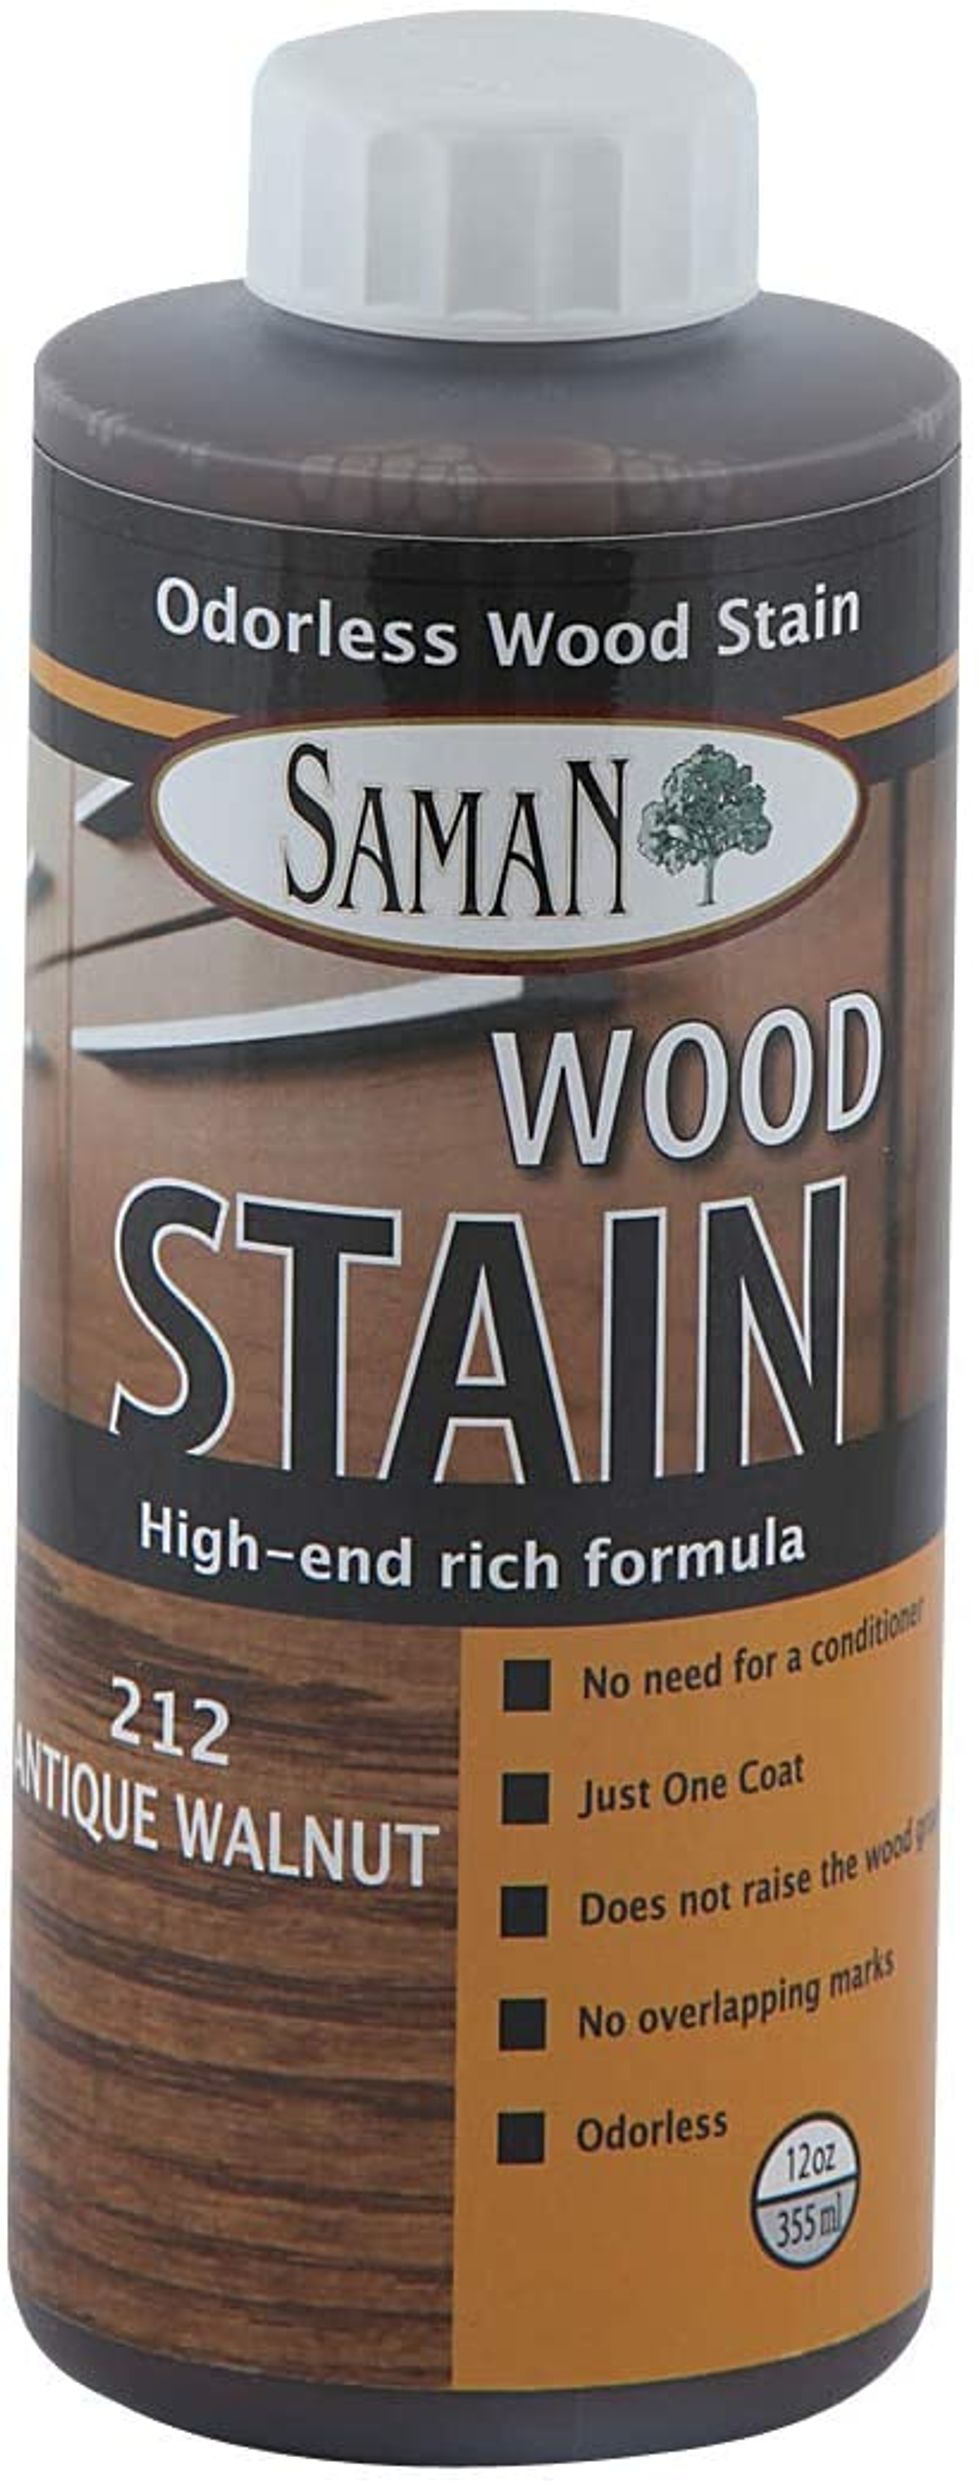
The advantage of using a conditioner is that it’ll prepare the wood for staining, ensuring there isn’t any blotching or streaking when you apply the stain. And it doesn’t prolong the process by much; you can go ahead and stain the wood immediately after applying the pre-stain conditioner.You’ll need to pick out a stain.
via: Amazon
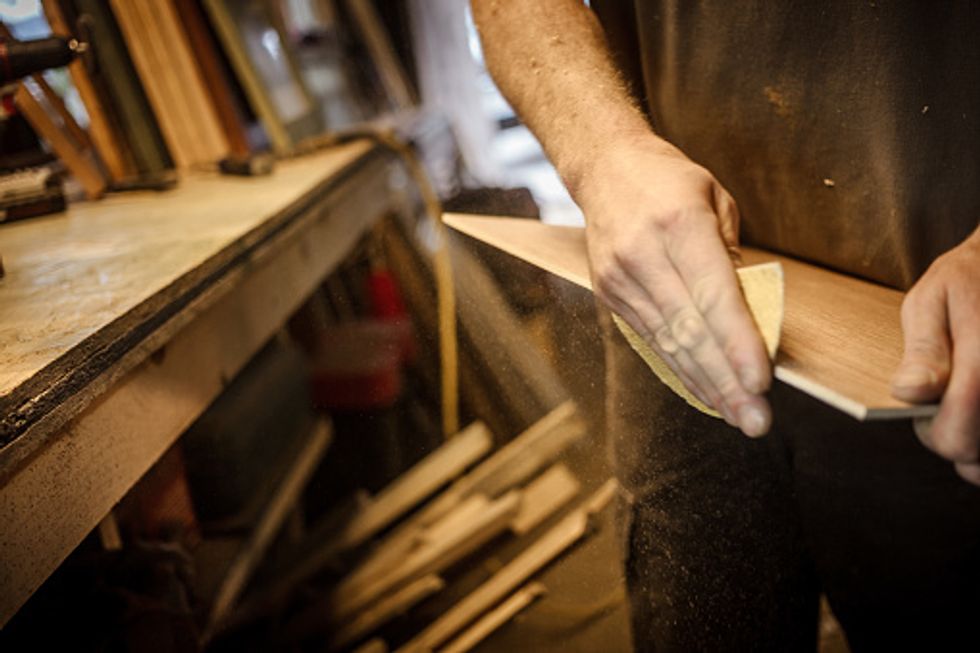
This one from SamaN is aptly named “Antique Walnut," but if that’s not quite the shade you have in mind, SamaN has a huge variety of stain shades for sale on Amazon, so odds are you’ll find one that works for you.Then, you can create a natural wear.
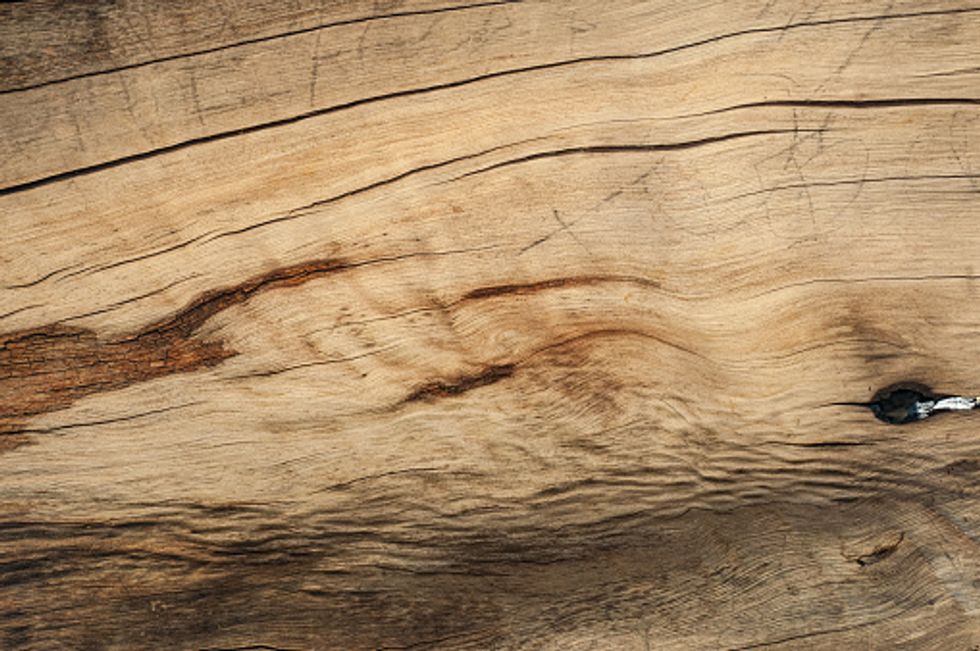
via: Getty
After the stain dries, grab a piece of fine sandpaper to replicate the look of natural wear that all antiques have. Once again, if you have an idea of an antique to work off of, that’ll make it easier to pinpoint where the sandpaper should be most heavily applied.Make sure you’ve got sandpaper on hand.
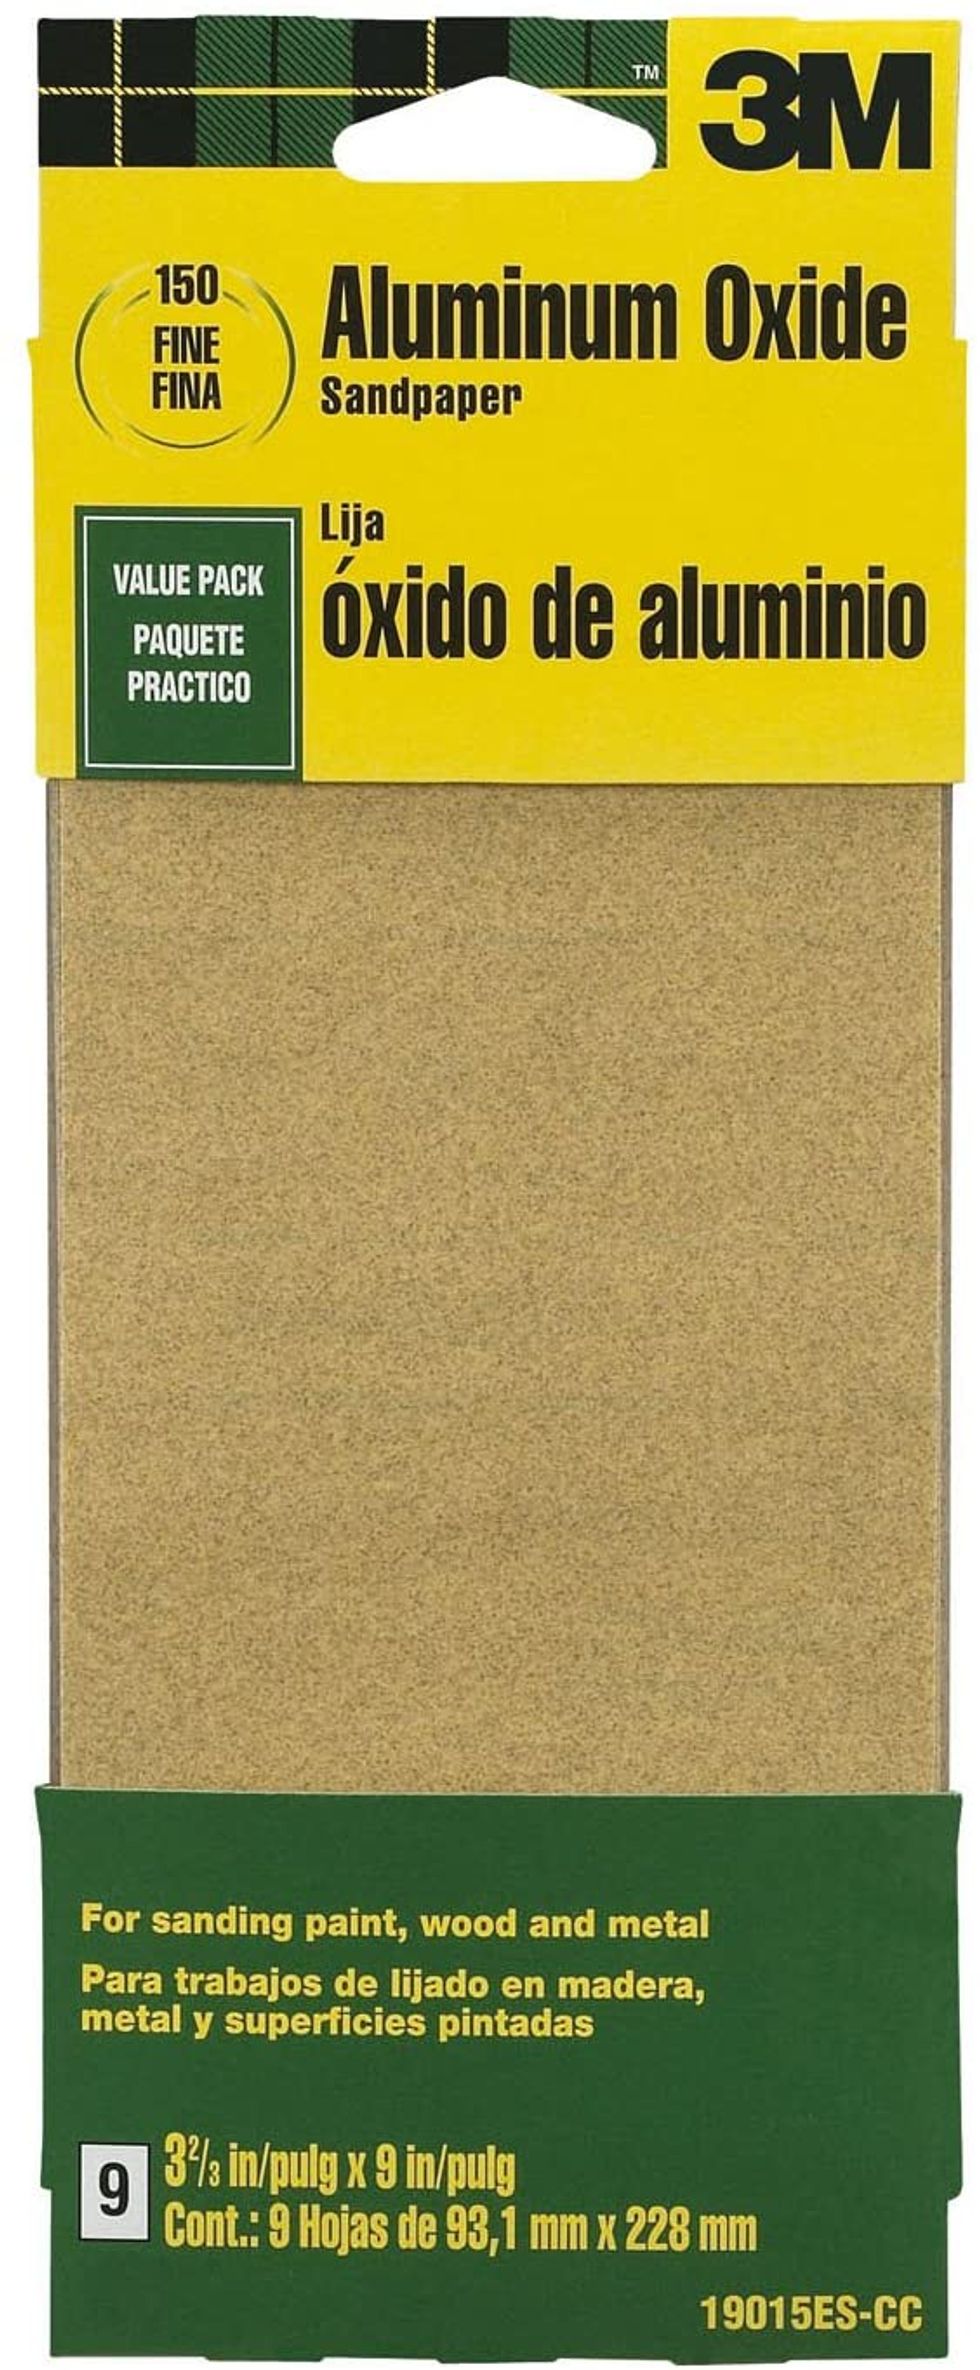
via: Amazon
Like this 9-inch fine-grit sandpaper; just remember to follow the grain of the wood when sanding, and you’re golden. This paper will easily sand down paint, wood, and even metal, so it’ll definitely work for your antique project!Add some dents and scratches.
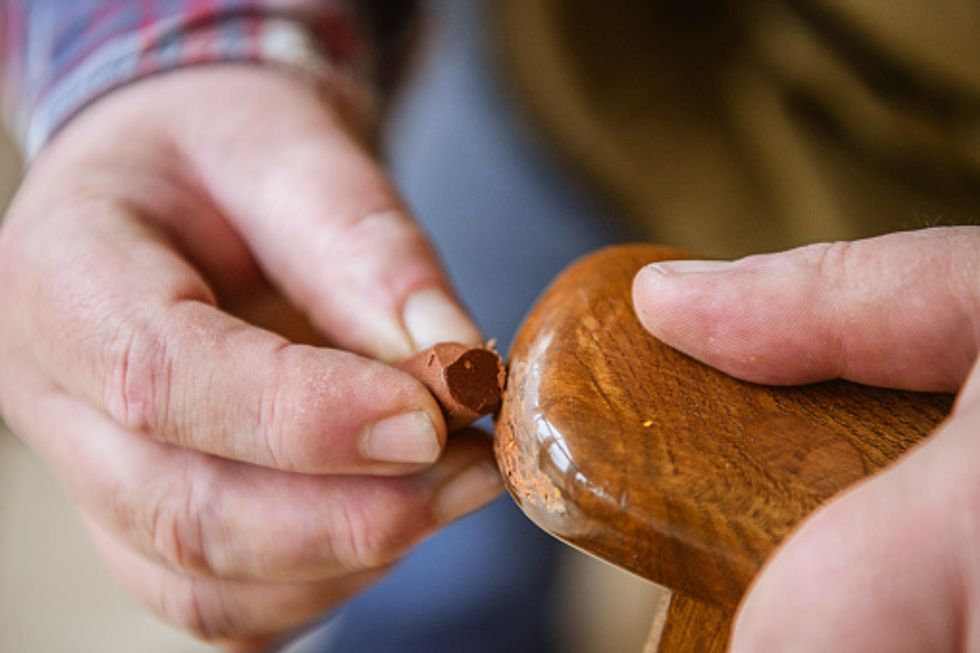
via: Getty
All you need for this is a file or a nail. After all, antiques will usually have some amount of denting and scratching on them; they’ve been around for decades or more! So for an authentic look, you’ll want to add some natural-looking scratches to the piece.And now, for the antique finish.
via: Getty
Soften some furniture paste wax over a no-flame hot plate, and then stir in more oil-based stain. Use a soft-bristle brush to apply it to the furniture. Then let it dry, and buff it, leaving the wax in joints and grooves of the furniture to look like years of wax and dirt buildup.This paint brush set will work perfectly.

via: Amazon
If you’re in the market for a soft-bristle paintbrush to complete this project with, then look no further. This super-affordable set (it’s less than $7!) contains five paintbrushes that’ll do the job with no issue—and you can use them to apply the stain and pre-stain conditioner, too.And this is the sort of furniture paste wax you’ll need.
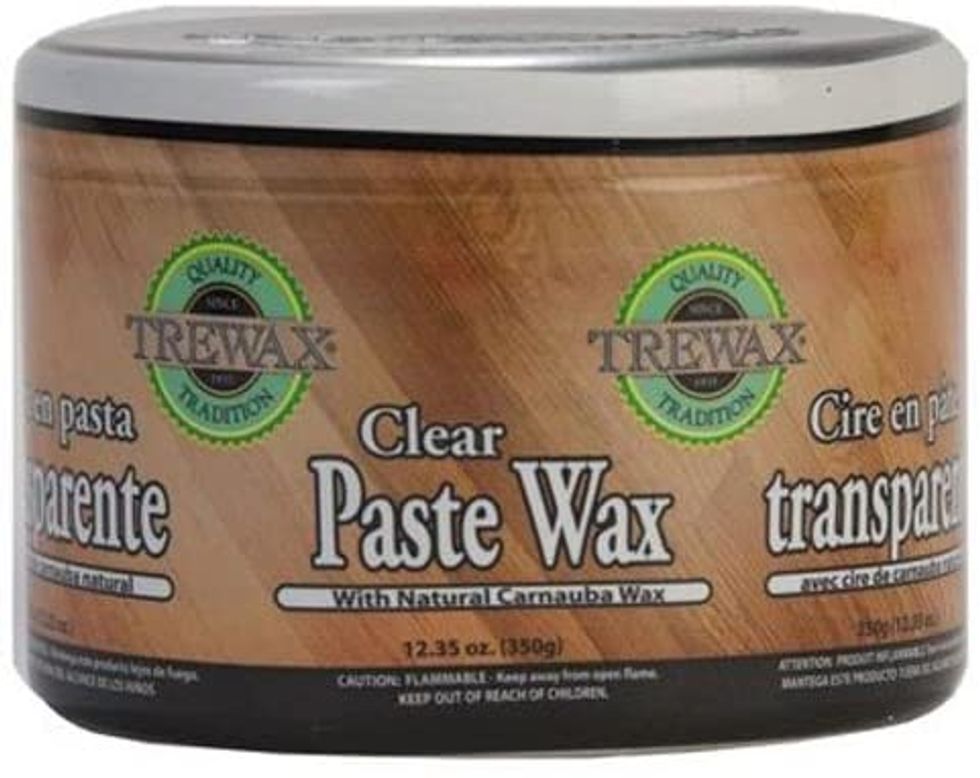
via: Amazon
It looks great on hardwood floors, fine furniture, worn wood, and basically wood of all kinds. With this wax, you can create the ultimate antique look on furniture that is actually brand-new!A few final pointers!
via: Getty
Now you’re all ready to begin your own DIY antique project at home. Just remember to apply your signs of age sparingly and carefully, to make your replica as accurate as possible, and really study the type of antique you want to see what the wear on it actually looks like.